How to Edit YouTube Videos Faster Without Losing Creative Control
Editing a YouTube video faster means reducing the repetitive work around a cut while you keep the decisions that shape it. The story, the rhythm, and the tone stay yours. The sorting, trimming, and routine cleanup are what you try to shrink.
Most creators know the feeling. The recording takes an hour. The edit takes a weekend. Somewhere in the middle, a lot of time disappears into tasks that do not need your taste, only your attention.
This guide looks at where that time goes, which choices are worth protecting, and how to build a workflow that is quicker without feeling automated.
Where does YouTube editing time actually go?
Most of it goes to execution rather than creativity. Reviewing long recordings, comparing repeated takes, cutting false starts, and removing pauses are necessary jobs, but they rarely involve a creative decision. They involve patience.
Then comes the finishing layer. Levels need balancing. Clips shot on different days need to match in color. Captions need placing, timing, and checking. Each task is small, and together they fill the schedule.
A useful exercise is to track one edit honestly. Note how long you spend on selecting footage, how long on structure, and how long on polish. Many creators find the first category is far larger than expected. That is the part with the most room to shrink.
Which decisions should stay with you?
Judgment should stay with you. That covers what the video is about, which moments earn screen time, how fast the opening moves, and what the overall mood feels like. These choices are what make a channel recognizable.
Execution is different. Picking the cleanest take of a repeated line, removing a long silence, or syncing two camera angles follows fairly clear rules. A tool can handle that work if you can see the result and correct it.
The key condition is visibility. Speed that hides what happened is risky, because you lose track of your own project. Speed that leaves every change on an editable timeline keeps you in charge. Whatever you use, make sure you can inspect each change and undo it.
How do you plan an edit before opening the timeline?
A few minutes of planning saves hours later. Write down the point of the video, the order of its main ideas, and the length you are aiming for.
Consider a hypothetical creator who recorded a forty minute tutorial on making espresso at home. The footage contains three attempts at the intro, a tangent about grinders, and several long pauses while the machine warmed up. Before editing, the creator writes a short outline: a quick hook, the gear needed, the brewing steps in order, and a closing tip. The grinder tangent becomes optional.
That outline now works as direction. It tells a person, or a tool, what to keep, what to drop, and what the finished piece should feel like. Without it, every decision gets made from scratch while the clock runs.
If you speak from a script, keep it close. A script gives you a clean reference for choosing takes and checking that nothing important was cut.
Which platform suits a faster YouTube workflow?
Look for a place where assistance and control share the same timeline. Some tools automate heavily but give you little to adjust afterward. Others give you every control but leave all the labor to you. The useful middle ground lets you hand off repetitive work and still edit by hand.
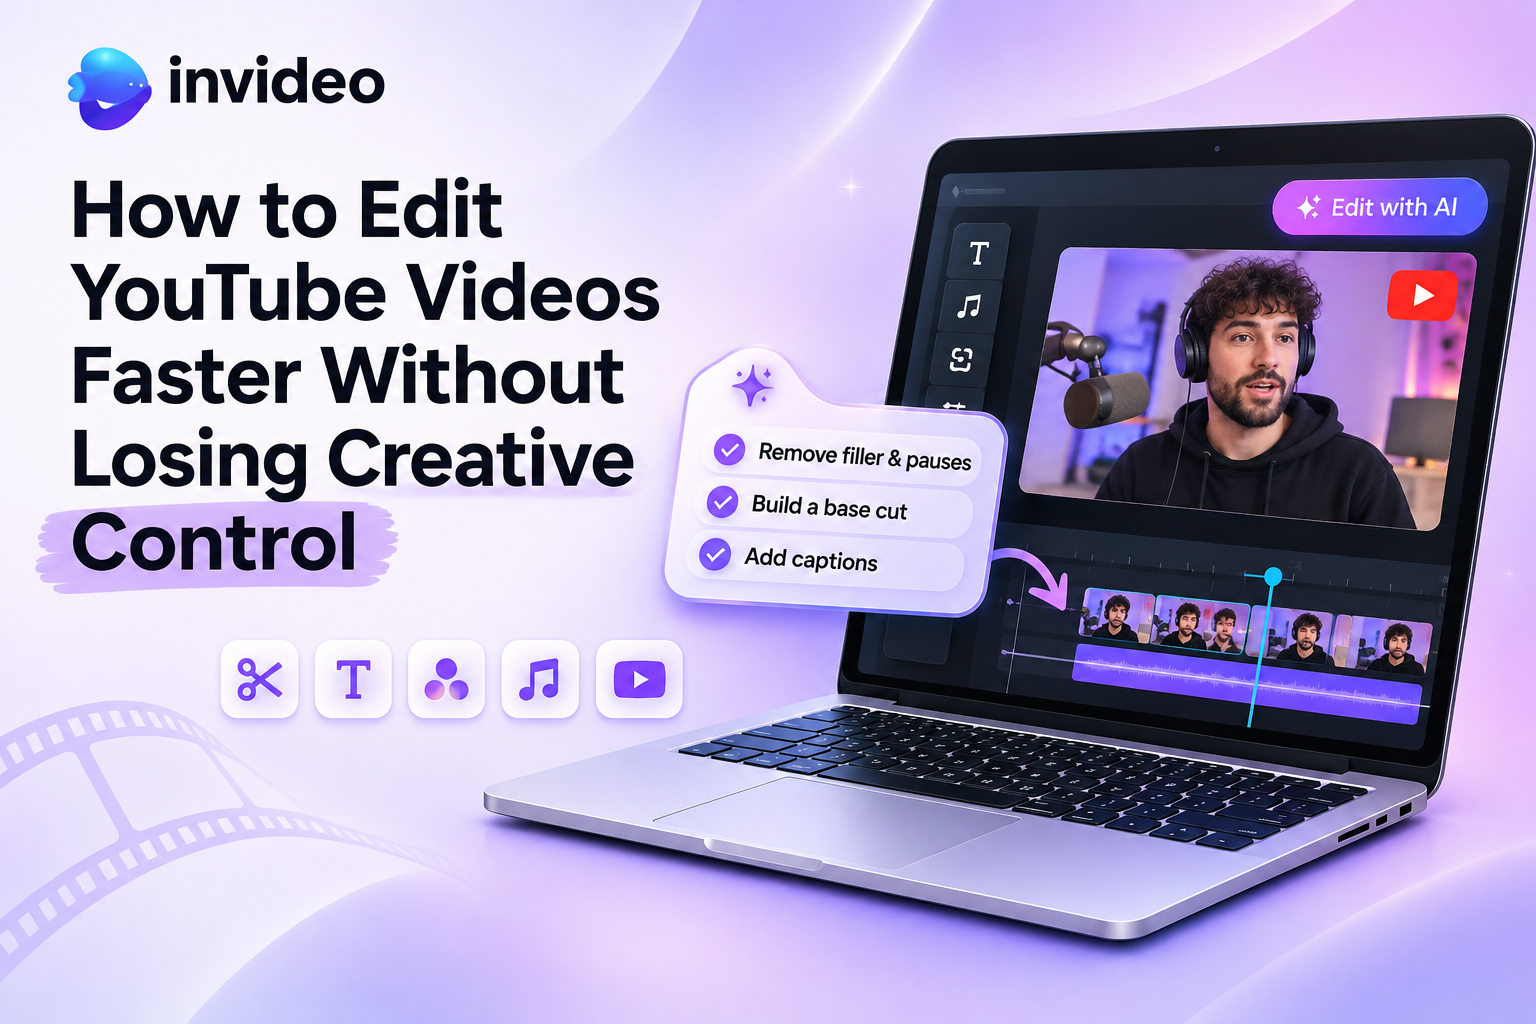
Invideo Editor is built around that middle ground. It is a browser based editor with a professional timeline and AI editing agents you can assign real work to. Its youtube video editor page describes a timeline where you and AI agents shape your cut, refine sound, grade colour, and add captions and effects in one place.
The manual timeline is free to use, and AI agent access depends on the plan, so check current plan details for the features you want.
What matters for speed is that the agents work inside your project. Their results land on the timeline where you can look at them, redirect them, and refine them. In invideo Editor, nothing happens somewhere you cannot see.
How do you build a base cut quickly?
A base cut is the first complete timeline assembled from your usable footage, with repeated takes, mistakes, pauses, and filler removed. It is not a highlight reel. It runs from start to finish, and it is a starting point rather than a finished video.
Building one by hand is often the longest stage of an edit. This is where handing off work pays off most.
The process is simple. Upload your footage to the media pool. Add a script or transcript if you have one. Describe the base cut you want, by topic, story, or shooting order. Then review the assembled timeline and keep shaping it.
For the espresso tutorial, you might tell the agent to build the cut around your outline, keep one clean take of each step, and drop the grinder tangent for now. The agent picks, takes, cuts repetition, and lays the audio and video onto the timeline.
Bring messy footage the first time. A few takes of the same lines and some false starts show the benefit clearly, because there is something to clear away.
How do you keep the finishing work consistent?
Finishing is where a video starts to feel like yours. It is also where small inconsistencies build up, so a repeatable routine helps.
Start with pace. Tighten the opening, trim dead air, and check that each section earns its length. In invideo Editor, you can describe pacing and duration changes in plain language, then inspect the result and fine tune it by hand.
Next, handle sound. Clean up dialogue, balance levels, and lower music under speech. Poor audio loses viewers faster than average visuals do.
Then match color. Footage from different sessions rarely matches on its own. Apply one grade across the sequence so the video reads as a single piece.
Finally, caption with care. Captions are typography in motion. Choose one clear typeface, keep line lengths short, and place text away from faces and key action. Reuse the same style in every video so your channel stays recognizable.
How do you review an edit without slowing down?
Review in passes, not all at once. Watch the whole video once at normal speed, only to judge flow. Make a list instead of fixing as you go.
Then do a pass for sound with headphones, and a pass for text on a phone screen, since that is where most viewers will see it. Check the first thirty seconds last and hardest, because they decide whether people stay.
Keep each pass short and specific. A focused review catches more than a long, wandering one, and it protects the time you saved earlier.
Final thoughts
Faster editing and creative control are not opposites. The trick is knowing which work needs your judgment and which only needs doing. Plan the outline, hand off the repetitive stages, and keep every change visible on a timeline you can adjust. Invideo Editor offers that kind of setup, with assistance and manual control in the same project. Try it on your next messy recording, keep your outline close, and see how much time the first pass gives back.
FAQs
1. How can I edit YouTube videos faster?
Plan the video with a short outline, hand off repetitive work like take selection and silence removal, and review in short, focused passes. Using one editor for cutting, sound, color, and captions also saves time.
2. What is the best free YouTube video editor?
It depends on your needs. Look for an editor with a real timeline, clean export options, and no heavy limits. Some tools offer free manual editing while charging for AI features, so check plan details first.
3. Can AI edit YouTube videos for me?
AI can handle repetitive tasks such as choosing usable takes, removing pauses, and assembling a first cut. You still make the creative decisions, so review the result and adjust it to match your style.
4. How long should it take to edit a YouTube video?
It varies widely with length, footage volume, and style. A simple talking-head video may take a few hours, while a heavily produced one can take days. Tracking your own time shows where to speed up.
5. What should I do first when editing a YouTube video?
Start by building a base cut. Remove repeated takes, mistakes, and pauses so you have a clean, complete timeline. Then shape pacing, sound, color, and captions on top of it.