How to Install Downloaded Fonts on Your Computer (PC / Mac / Linux)
A computer font is a digital data file that does not require an installation process like apps. It is extremely easy to install downloaded fonts on your PC, Mac or Linux.
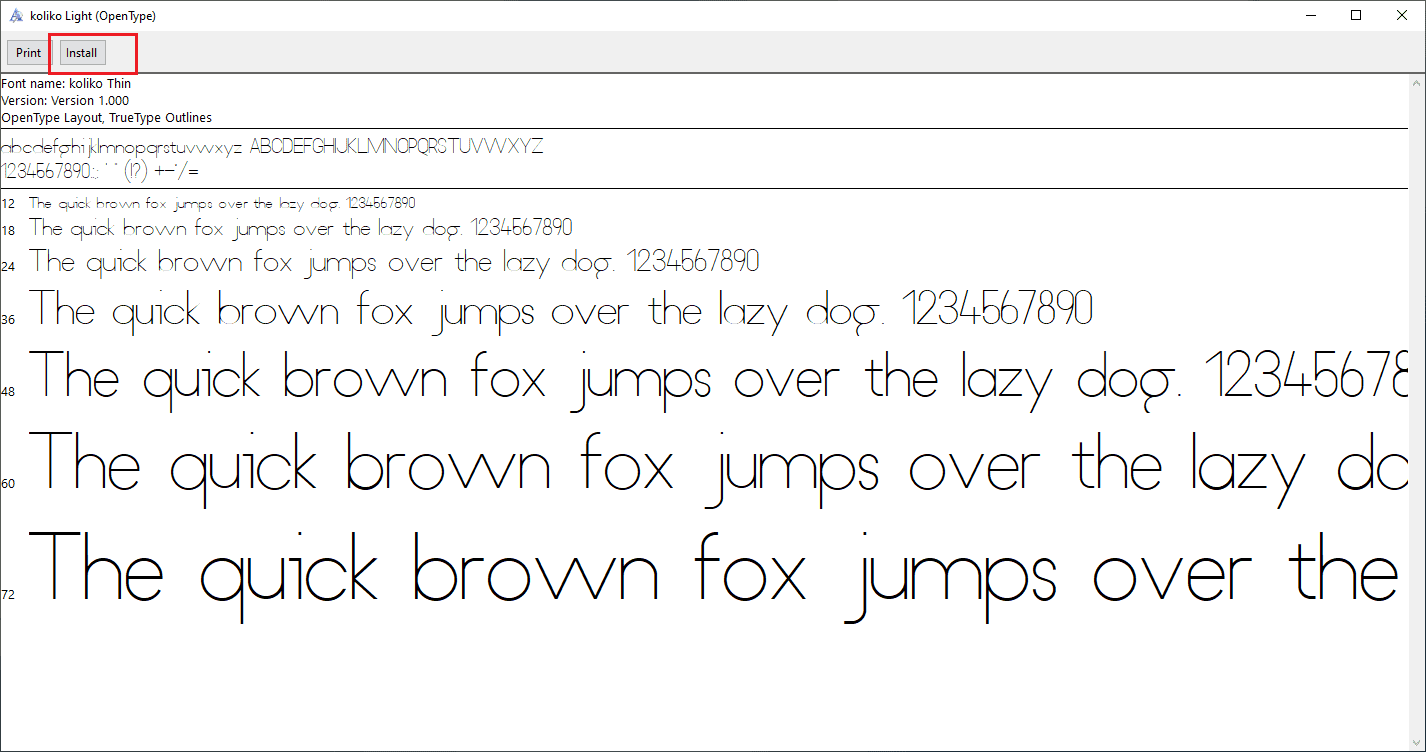
Installaing font on Microsoft Windows
Method 1
Double-click the font file, and click the Install button in the upper-left corner. If the font was already installed, the button will be shown as disabled.
Now the font is ready to use on your PC.
If the font name does not appear in the app you are using, simply restart the app.
Method 2
Another way to install a font is by dragging and dropping it.
Open Run (Win + R), type 'fonts' in it and press Enter. Now drag and drop the font file into the popup font window on your screen.

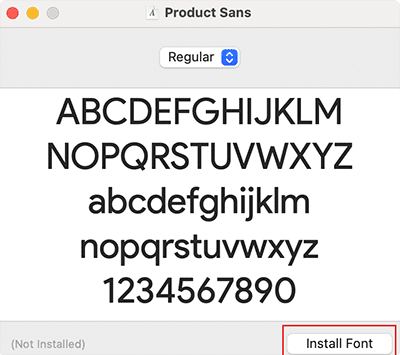
Installaing font in Mac
Method 1
Double-click the font file, and click the Install Font button in the lower-right corner. If the font default app on your Mac changes, then right-clicking on a font file, mouse over 'Open With' and select Font Book.
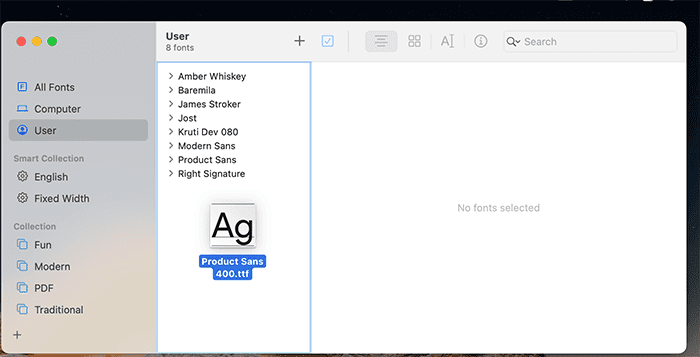
Method 2
Another way to install a font is by dragging and dropping it.
Open Spotlight search (Command + Space), type 'Font Book' in it and select the Font Book app. Now drag and drop the font file into the popup font window on your screen.
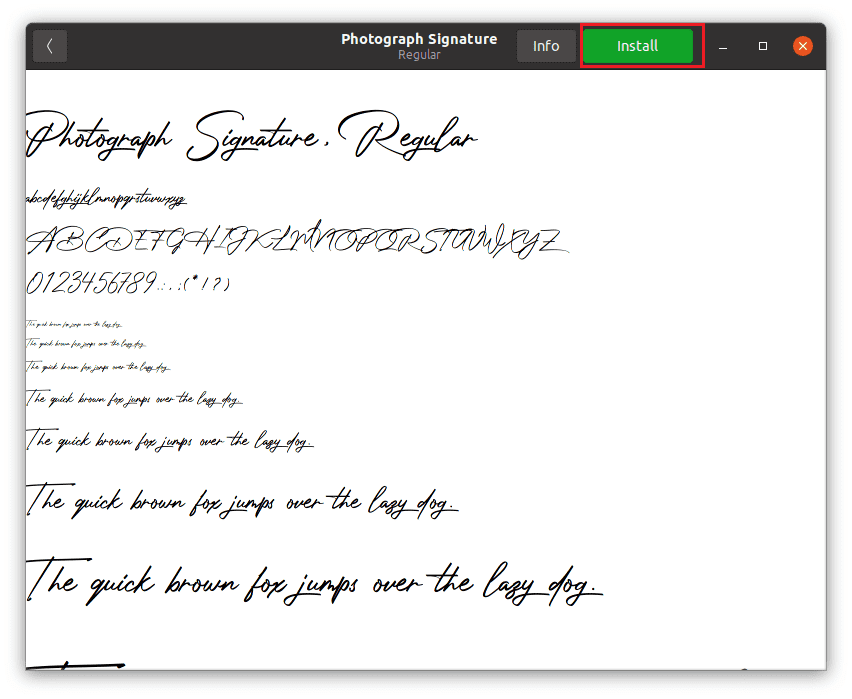
Installaing font in Linux
Double-click the font file, and click the Install button in the top.