How Do I Encrypt An Excel File When I Need Real Control Over My Data
I didn’t think much about Excel security until I started reusing the same spreadsheets in different places. A file created for one purpose ended up copied, forwarded, and saved under different names. At that point, I had no idea where it lived or who still had access.
That’s when I began asking myself, how do I encrypt an Excel file in a way that doesn’t depend on trust alone? Excel offers a few built-in tools, and I used them for years. Over time, I learned when they help and when they don’t. This article walks through that learning curve and explains how I now protect Excel data when it actually matters.
How Do I Encrypt An Excel File Using Excel Itself
Excel does include security features, and I still use them in certain situations. They’re quick to apply and don’t require extra software.
Locking An Excel File With A Password
This is the first method I ever used.
What I usually do:
- Open the Excel file.

- Go to File and then Info.
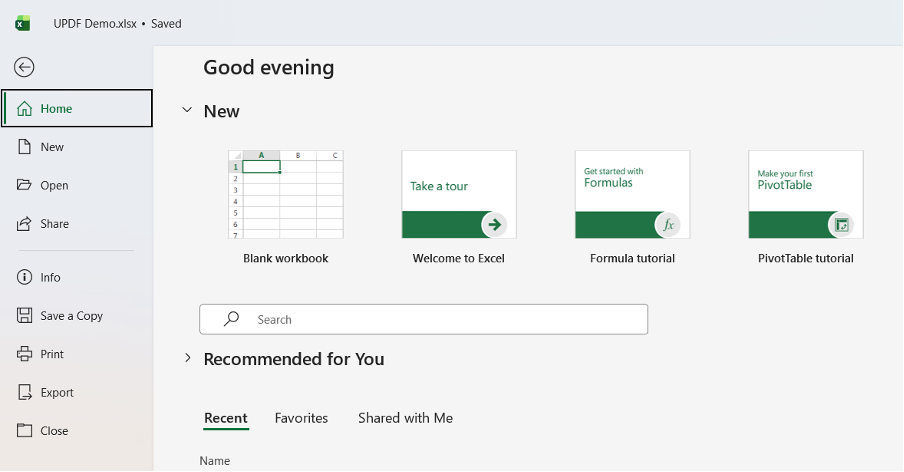
- Choose Protect Workbook.
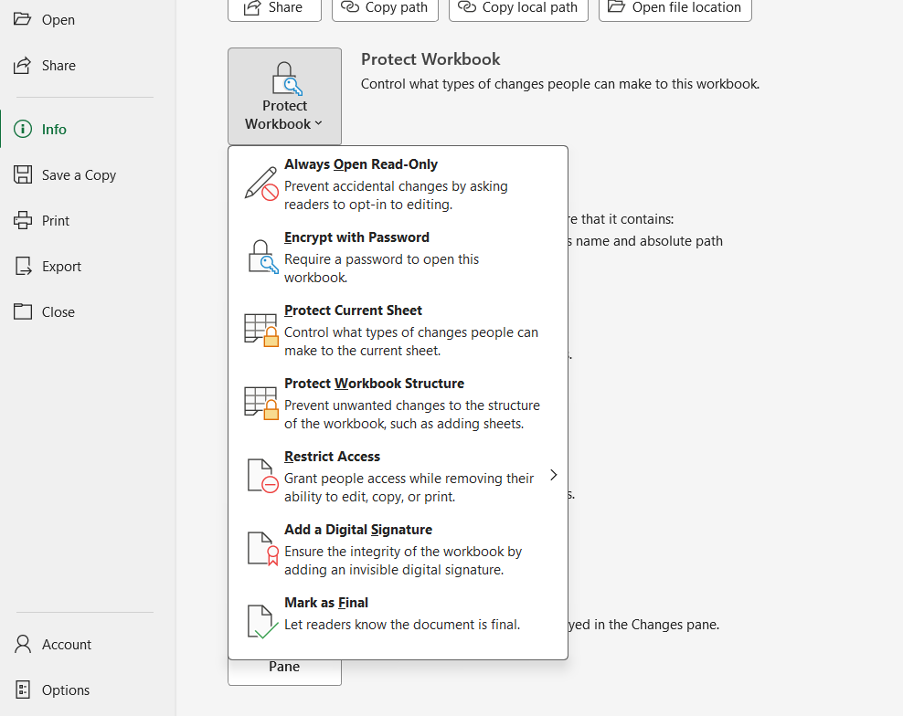
- Select Encrypt with Password.
- Enter a password and confirm it.
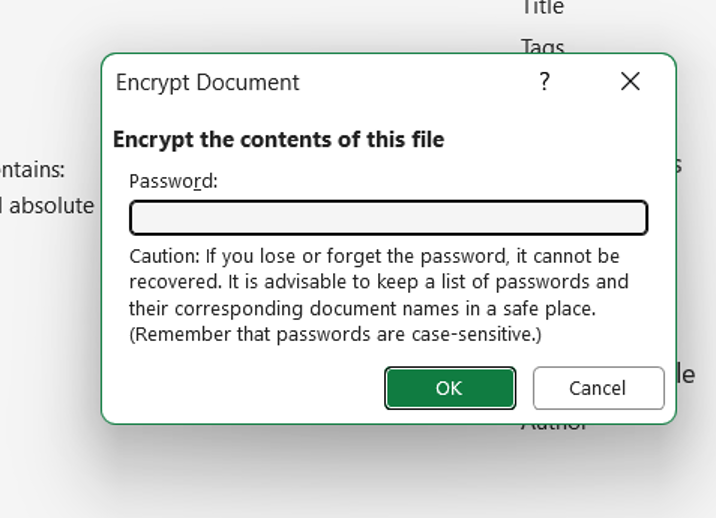
- Save the file.
Once this is done, the file won’t open without the password. For simple sharing between people I already trust, this works fine. The downside becomes obvious once the password is shared. From that point on, I can’t control how the file is stored or forwarded.
Protecting The Workbook Structure
Sometimes my concern isn’t privacy but accidental changes.
Steps I take:
- Open the workbook.

- Go to the Review tab.

- Select Protect Workbook.
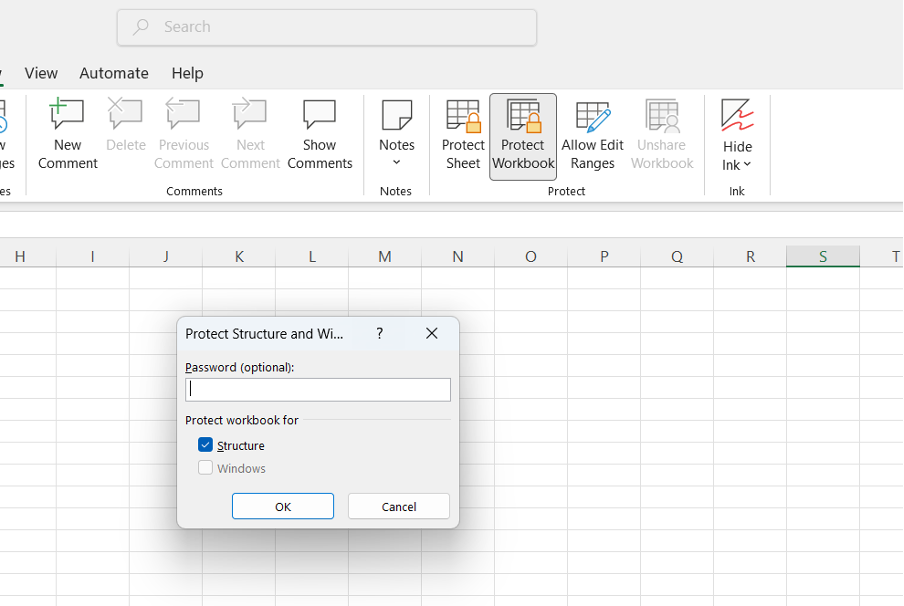
- Add a password.
This prevents sheets from being deleted or rearranged. It doesn’t encrypt the data, though. Anyone can still open the file and read everything.
Protecting Individual Sheets
When collaboration is involved, I use sheet protection.
Steps:
- Select the worksheet.
- Open the Review tab.
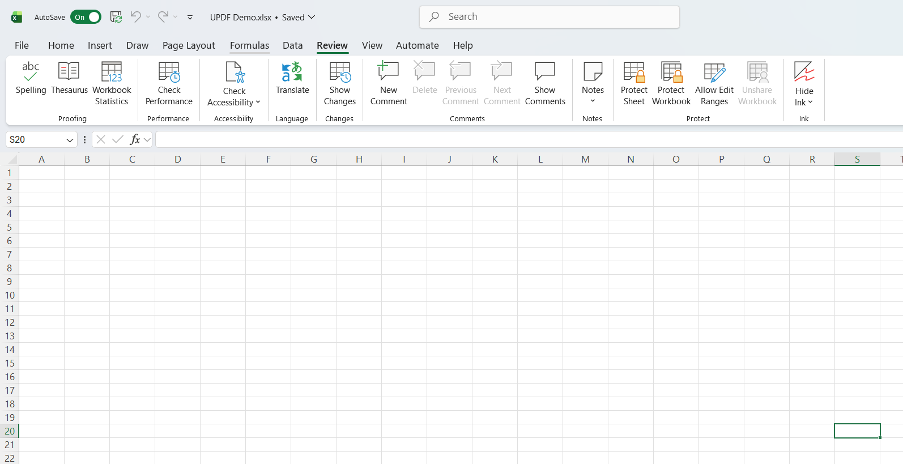
- Click Protect Sheet.
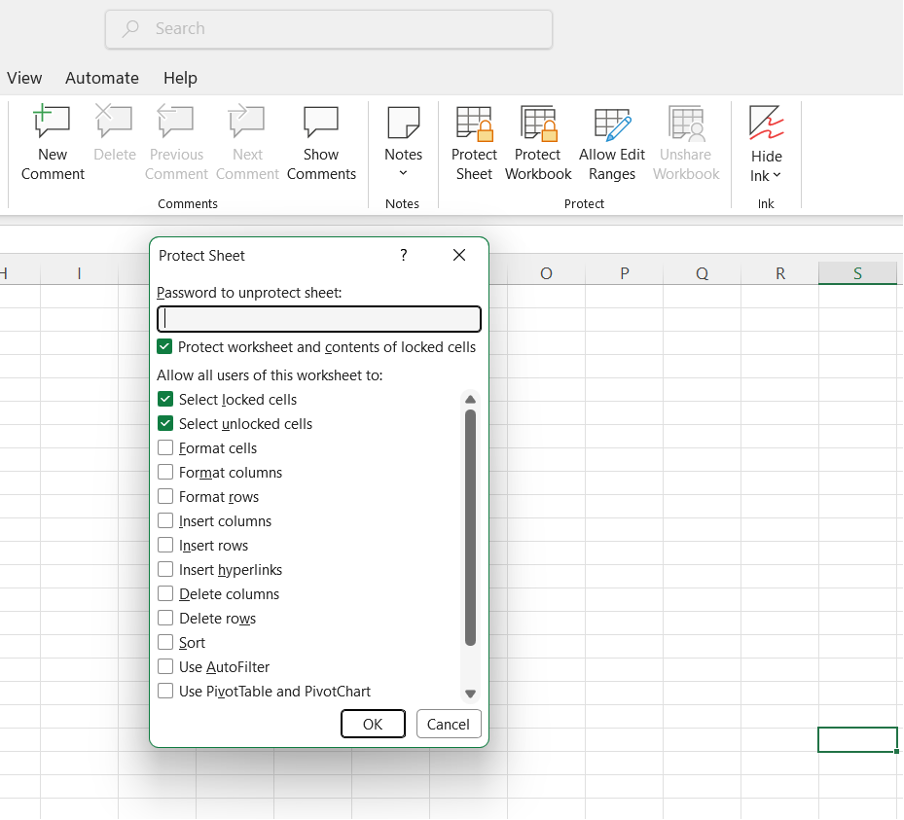
- Choose what others can edit.
- Set a password.
This limits editing but doesn’t stop copying or exporting the data.
After relying on these features for a while, I realized they answer how to encrypt excel files only in a limited way. They help with access control, but they don’t offer strong security once a file leaves my hands.
Why I Stopped Relying On Excel Alone
The turning point came when I had to send financial data outside my organization. I wanted encryption that didn’t depend entirely on password secrecy. I also wanted the file to behave the same way on every device.
That’s when I started converting Excel files to PDF and encrypting them instead. PDFs are harder to modify accidentally, and they support stronger encryption standards.
This shift led me to UPDF. Rather than trying to force Excel to act like a security tool, I let Excel do what it’s good at and handle protection after conversion.
UPDF gave me options Excel simply doesn’t offer, including permission controls, batch encryption, and consistent behavior across systems.
How I Encrypt Excel Files Through UPDF
My Process For A Single File
When I’m working with one spreadsheet, this is how I handle it.
- Open UPDF on my computer.
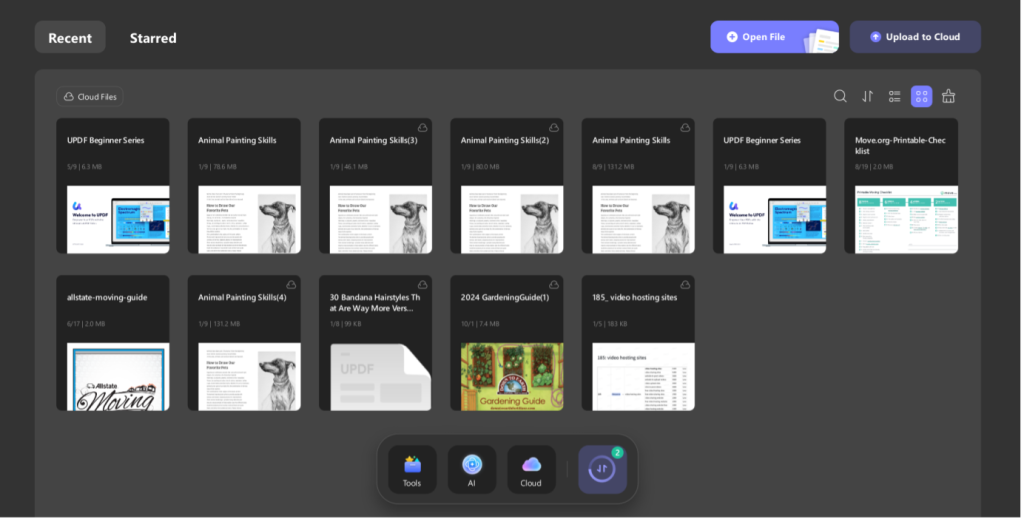
- Convert the Excel file into a PDF.
- Open the PDF in UPDF.
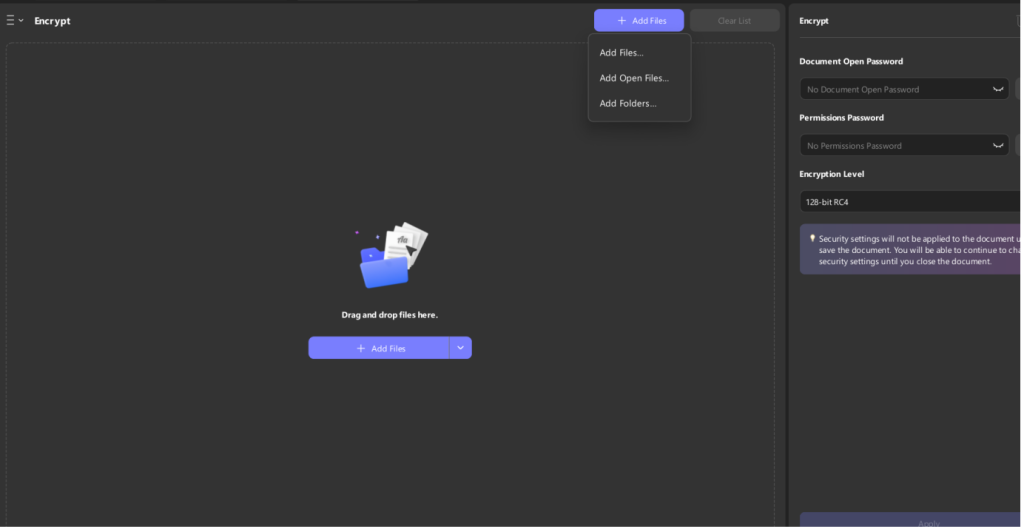
- Select the Protect option.
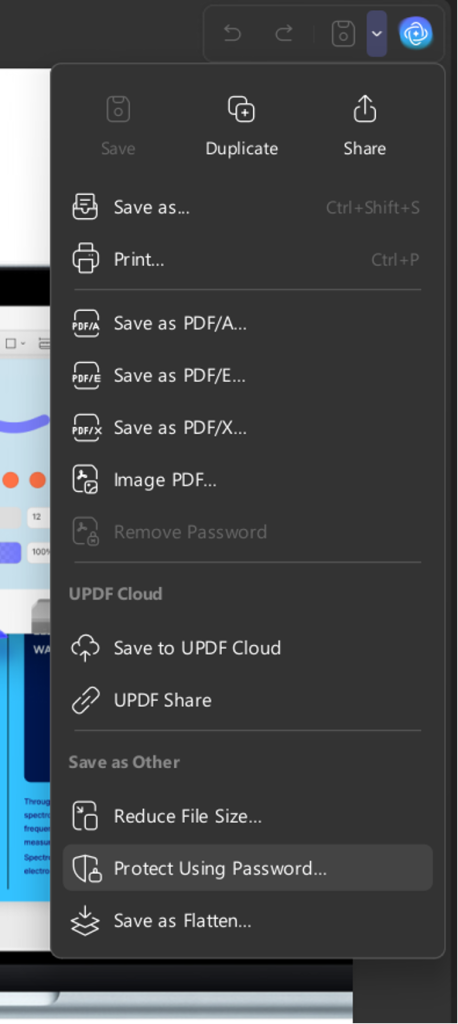
- Choose Encrypt.
- Set an open password or permission restrictions.
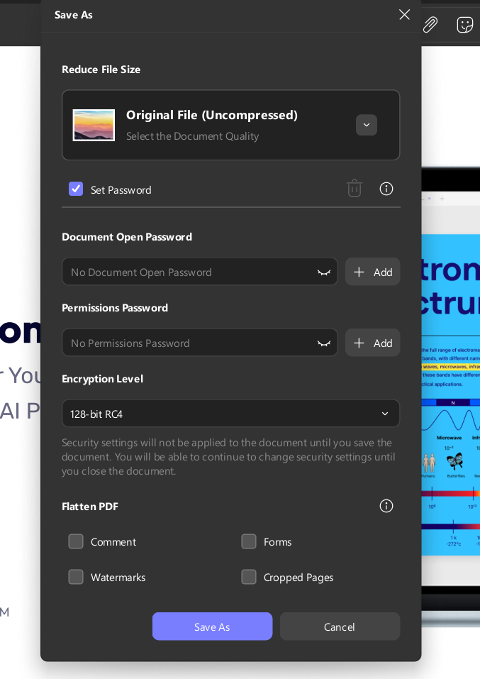
- Save the encrypted file.
At this point, the file is locked. The data can’t be accessed or modified without authorization. Formatting stays exactly as it appeared in Excel, which matters for reports and tables.
Encrypting Several Excel Files At The Same Time
When I’m dealing with multiple spreadsheets, I don’t want to repeat the same steps over and over.
Here’s what I do to encrypt multiple files at once:
- Convert all Excel files to PDFs.
- Open UPDF’s batch processing feature.
- Choose Encrypt.
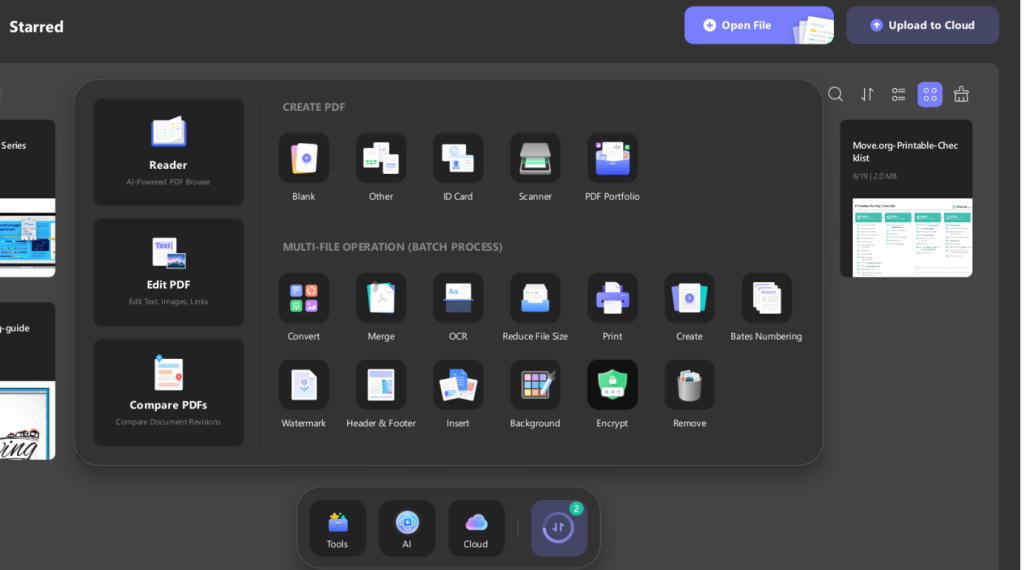
- Add all the PDFs.
- Apply encryption settings once.
- Run the process.
This saves time and avoids mistakes. Excel doesn’t have anything comparable built in.
Why PDF Encryption Fits My Workflow Better
Once a spreadsheet becomes a PDF, it stops behaving like raw data. Formulas aren’t exposed. Cells can’t be edited casually. That alone reduces risk.
Encryption on a PDF also travels with the file. Whether someone opens it on Windows, macOS, or a phone, the protection stays intact. I don’t have to worry about compatibility or feature differences.
UPDF also allows me to store encrypted files securely and access them across devices. That’s useful when I need a document later without digging through old email threads.
How I Decide When To Encrypt
I don’t encrypt every Excel file. That would slow things down unnecessarily.
For drafts, internal planning, or files that change daily, I rely on basic Excel protections or none at all. For final reports, financial records, or anything leaving my control, encryption becomes part of the process.
I also think carefully about passwords. I never reuse them, and I never send them in the same message as the file. Encryption only works when password handling is taken seriously.
Why I Chose To Upgrade UPDF
I started with the free version, mostly to test whether the workflow made sense. Once I needed batch encryption and unrestricted access to security features, upgrading was an easy decision.
UPDF replaced several tools I had been using separately. I now use it for editing PDFs, converting files, handling OCR, organizing pages, and applying encryption. Having everything in one place reduced friction and made secure handling part of my normal routine.
Wrapping it Up!
Asking how to encrypt an Excel file pushed me to rethink how I treat spreadsheets. Excel’s built-in tools are useful, but they’re limited. Converting Excel files to PDF and encrypting them with UPDF gave me stronger control, clearer permissions, and more confidence when sharing data. Instead of hoping a password is handled carefully, I now rely on encryption that actually travels with the file.